The next piece of equipment I’m going to tackle is an Incubator. But not just any incubator, but a mammalian cell incubator, which requires strictly controlled temperature, humidity and Carbon Dioxide levels! Let’s start with some requirements.
- Large enough to store at least 8 flasks or multi-well plates.
- Maintain a temperature of 37°C ± 0.2°C.
- Maintain a relative humidity of > 80%.
- Maintain a CO2 of 5% ± 0.2%
Each of these factors is essential for the growth of mammalian cells. Aside from the required size, the other factors are specific to mammalian cells’ survival. A temperature of 37°C is crucial for all mammalian cells, including human cells, just as we need to maintain our own body temperature. Additionally, high humidity slows down the evaporation rate, extending the life of the media in which the cells are suspended. Lastly, CO2 helps maintain the pH balance in the cell culture medium. When CO2 dissolves in water, it forms carbonic acid (H2CO3), which acts as a buffer and regulates the medium’s pH. This is vital for maintaining the optimal pH conditions, which most cells require for growth and proliferation.
Ok, that sounds easy enough. Let’s start by seeing what projects are already out there. One of the most popular is the DIY incubator from Pelling Lab. It’s a great starting point, but I was hoping for something a little “neater”. Not to throw shade on Andrew’s work, I learned a lot and really appreciate his effort and ingenuity. Another interesting build is the one by The Thought Emporium, called the Meatcubator. I’ve followed Justin for a while, and he has some amazing projects, one of which inspired this whole adventure! The Meatcubator is built from a reptile egg incubator and uses the existing heater and temperature control. He then added the CO2 sensor, regulator and a display. The best option is to do something similar. However, I’d like full control of all three settings and maybe a few other interesting features.
Let’s start with the box. A refrigerator is an obvious choice when looking for a small insulated box. Refrigerators come in many different sizes and are easy to come by. It doesn’t even need to be working because I only want the shell. After several searches on eBay, I found these small travel/makeup mini fridges. They range in size from 4 to 22 litres, run on 12v DC, and have both cooling and heating functions. I looked around and finally got this 22 litre one for under $120*.
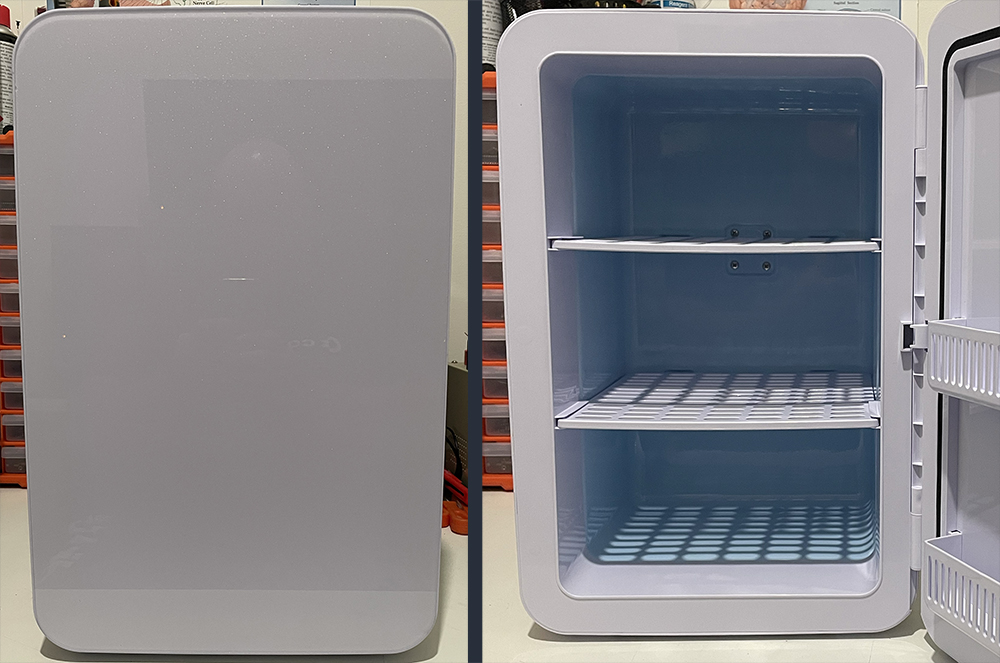
So let’s pull it apart! As expected, there is not much inside. A 240v AC to 12v DC power supply, a Thermoelectric Peltier Module and fan, and the heat/cool selector board.
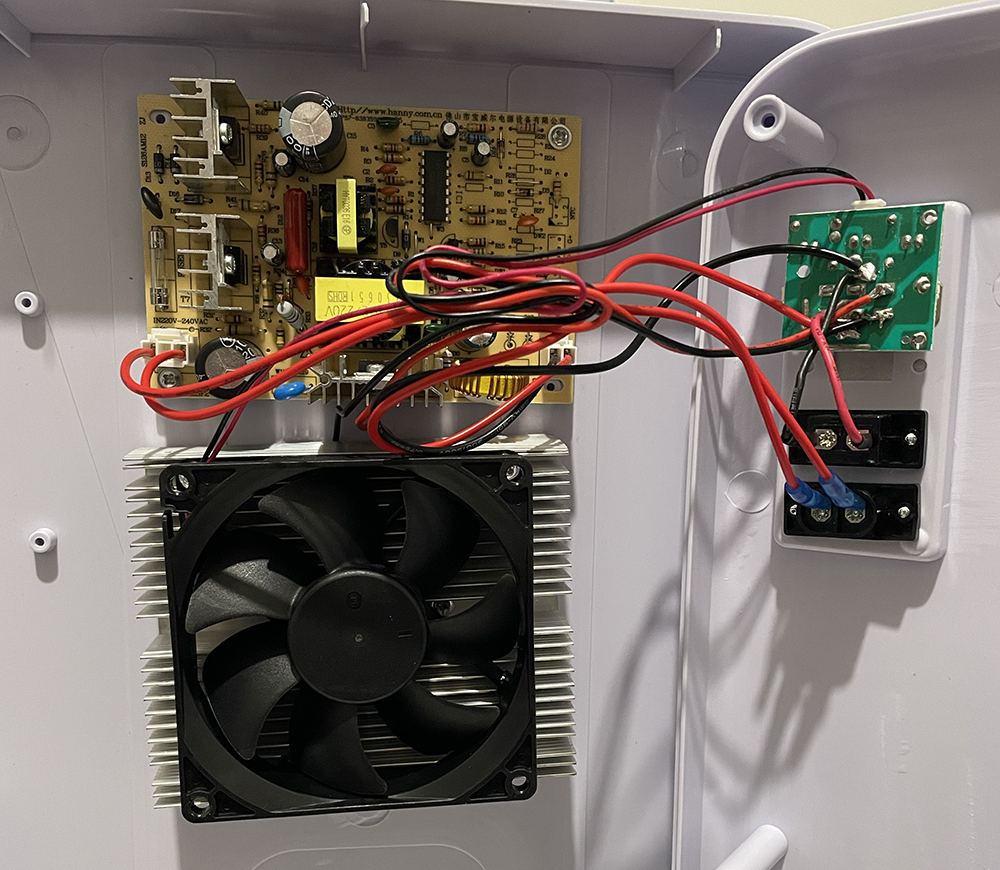
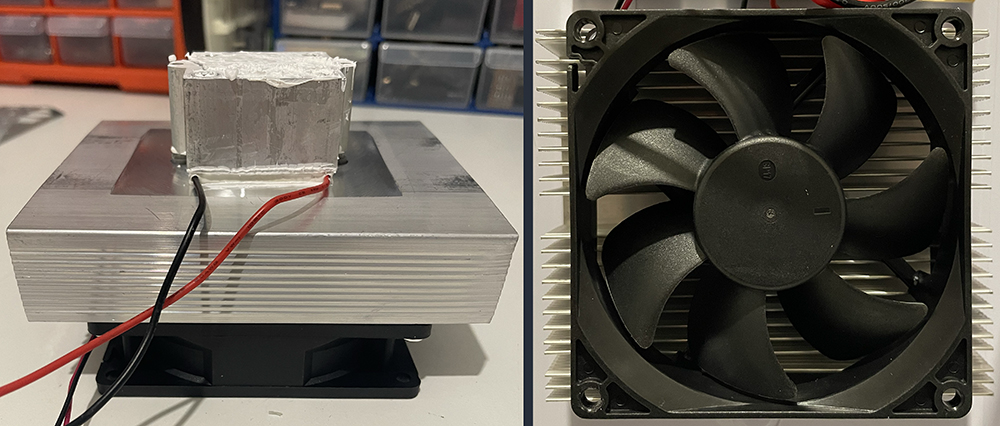
I removed everything, even the insulation. Luckily, that insulation is polystyrene and could be removed in one piece. Unlike the insulation in the Meatcubator, which uses spray-in expanding foam, which is impossible to remove. Ultimately, I only kept the case and the thermoelectric module with its fan.
The plan is to use a Raspberry Pi Pico as the main controller, an Arduino relay board to control everything and an Aquarium CO2 regulator. In addition to that, I’ll need a way to accurately measure temperature, humidity and CO2, a means to distribute the heat and CO2 and some lighting.
As I mentioned, I’m not a fan of mains voltages because I like to poke around in things and don’t want to die doing it. So it is going to be 12v DC all the way. Given that the sticker inside the door says heating with a 12v supply uses 40 watts, we will need a power supply that can handle at least 3.5 amps (40w / 12v = 3.3A). Lucky for me, our friends a Jaycar had a 12v DC, 5A power subply specifically for this style of fridge on sale, so it only cost me $23.97. The thermoelectric module and its fan run on 12v DC, so there are no issues there.
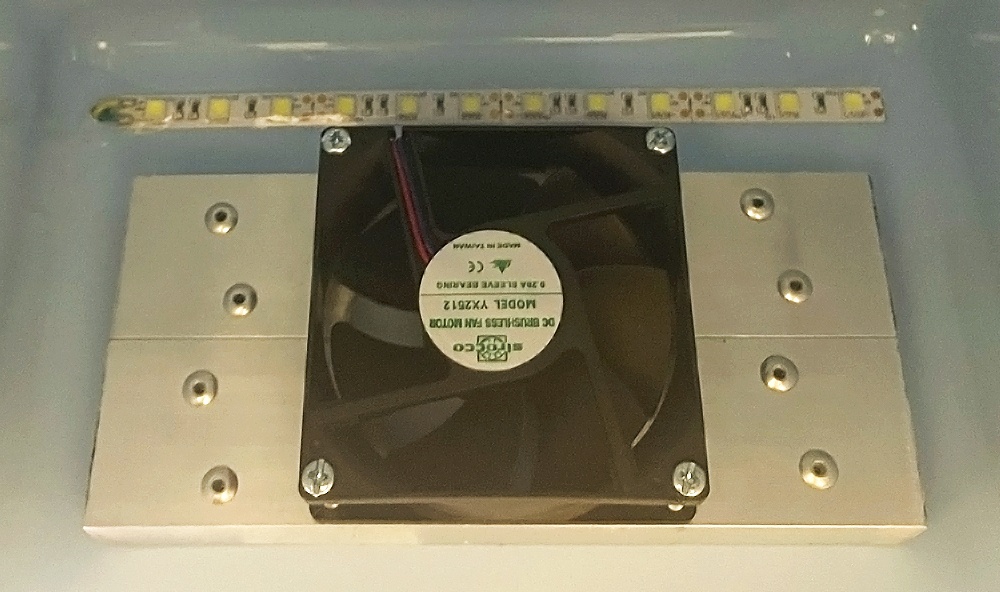
Next, I need a way to circulate the warm air and CO2. I joined two pieces of aluminium angle with brackets and rivets to create a channel. Then, a hole was cut in the centre with a hole saw, and a 12v PC fan was mounted on top.
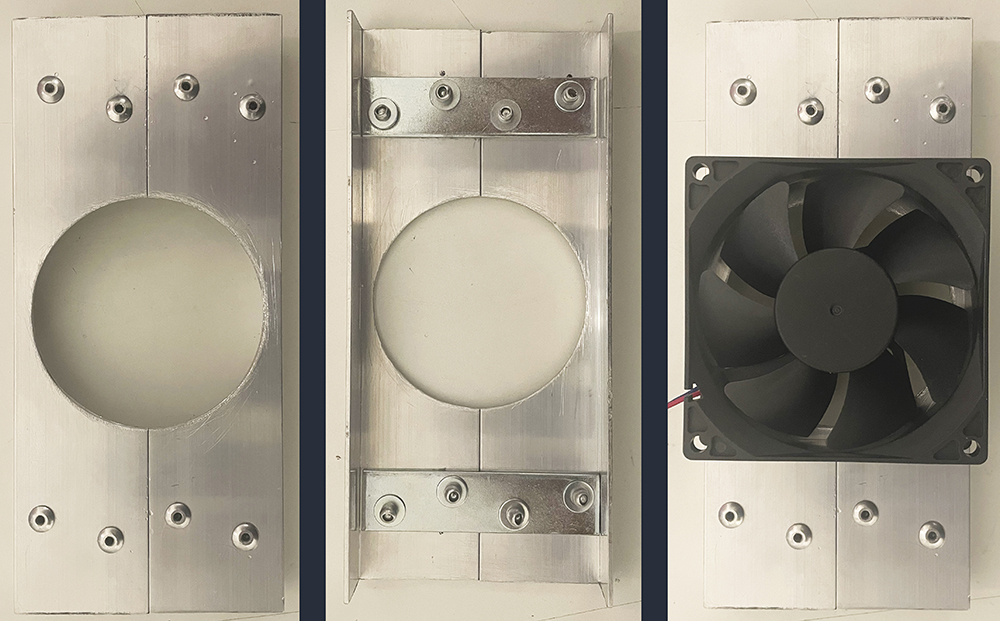
The fan pulls the warm air up from the side walls of the incubator and pushes it down the centre over the containers. It was mounted on the ceiling with four long M3 bolts, and an LED strip was added behind it. The LED strip was also covered with clear tape to protect it from the humidity.
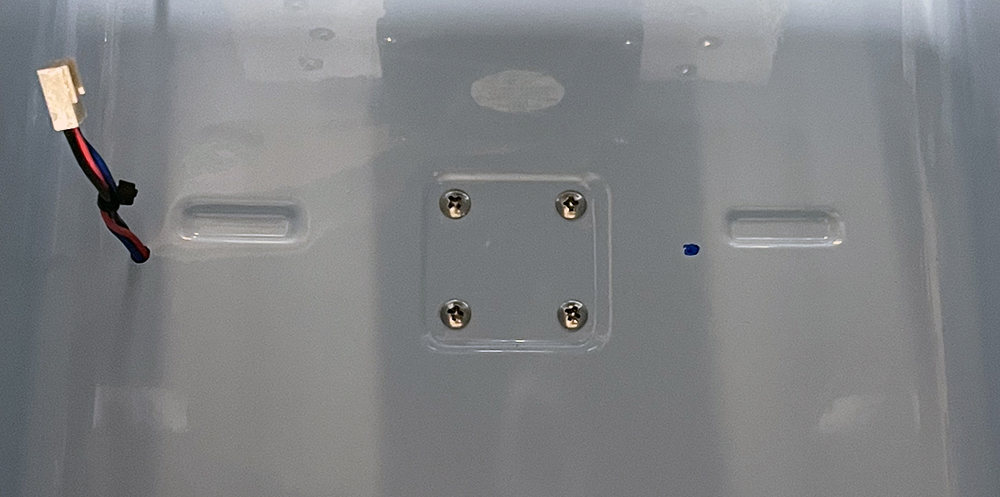
A hole was drilled in the back, halfway between the floor and the first shelf, allowing the CO2 in. This will allow room for the water tray below it. A rubber grommet was used to seal the hole, and the rubber tube was fitted. A Threaded Trickler Dripper was screwed into the tube to neaten up the hole and lock the tube in place.

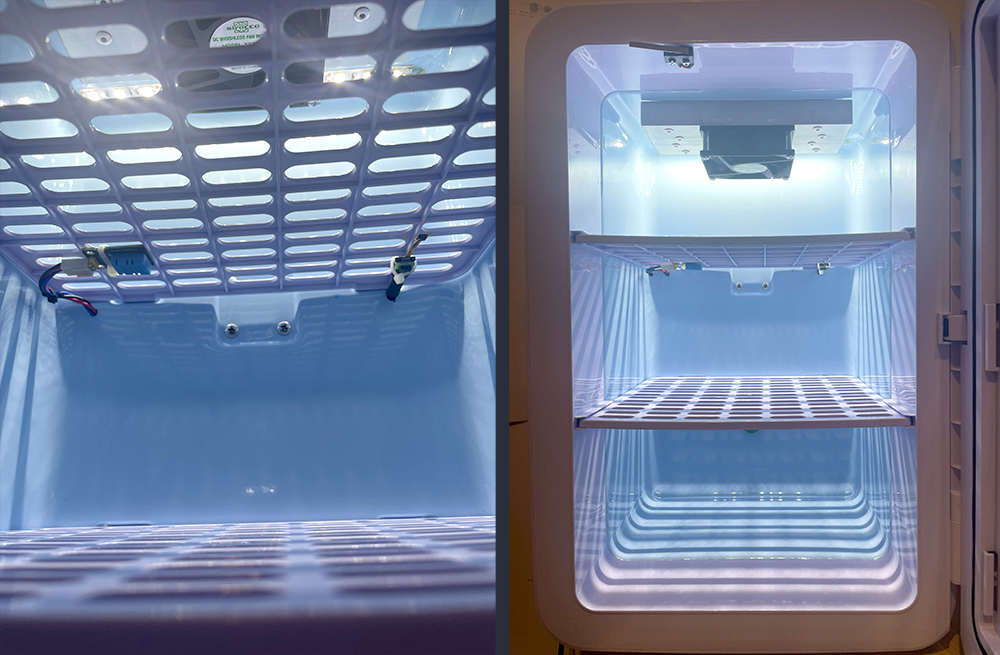
The CO2 sensor was a little trickier. Several CO2 sensors are available, but most max out at 1% CO2 (10,000ppm). I need a minimum of 5% for this project, preferably up to 10%. Given the options, I went with the Sensirion STC-31. This bad boy has two modes: 0-25% or 0-100% and an accuracy of ±0.5 vol%. Even better, it’s available as an Evaluation Kit that also includes a temperature and humidity sensor (SHTC3) for $112. I added a secondary temperature and humidity sensor as a backup to ensure no issues, the DHT22, which was only $12.
Holes for the wires were drilled just underneath the top shelf so the sensors could be mounted under the shelf and not be too intrusive.
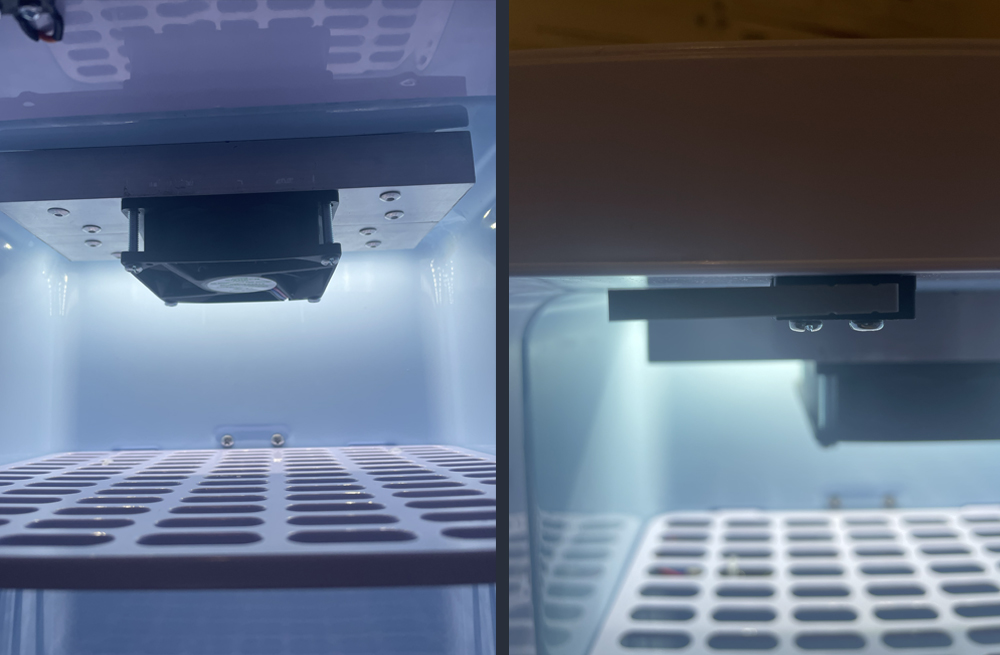
Last was a micro-switch on the door to turn off the fan, heater and CO2 to reduce waste and stop them from staying on if the door is left open.
So that’s pretty much it for inside. I’ll run through the electrical components and wire everything up in the next section. See you then.